


Gel Plate Printing Basics an Intro
Mariah Rushing2023-03-26T07:42:35-05:00Gel Printing What to Know Before Even Laying Paint to Plate – A True Beginners Guide to Getting Started with Monoprinting aka Gelli Printing
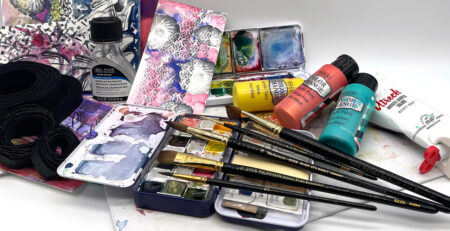
SUPPLIES
Must Haves:
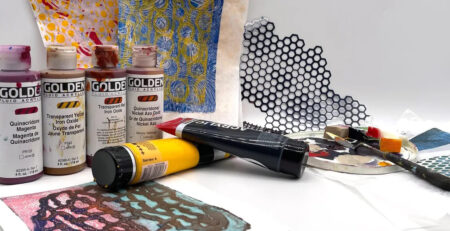
Gel Plate – P’s favorite is a 5×7 or actually her custom cut plate 6×8. You can always go bigger but smaller is easier to start within our experience. https://amzn.to/3u5Kl57
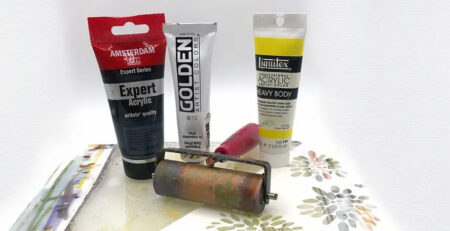
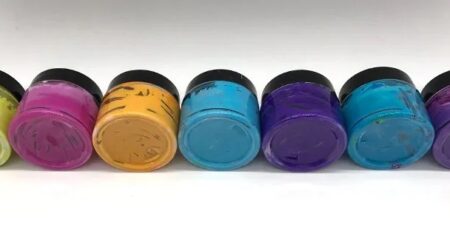
Paint – Any Acrylic paint will work with craft paints to high-end artist paints all have a purpose on the plate. Knowing how each performs will greatly affect your success.
- CLICK Here for a more in-depth list of paints P likes
Brayer – Speedball Deluxe Soft Rubber Brayer, 4-Inch https://amzn.to/3eMLw2X
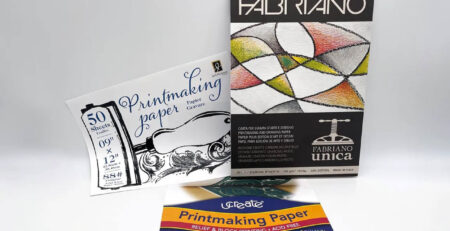
Paper – A nice weight of paper like our favorite 32lb Hammermill Premium Copy paper is another key to successful prints. Pacon and Blick White Sulphite Drawing Paper are also great papers to pull prints with. Once you master the basics trying new papers is one of the great ways to experiment even further. In the beginning, stay with one style of paper to eliminate paper as a variable.
OUR TOP FAVS AT THE MOMENT
- Hammermill Printer Paper, Premium Color 32 lb Copy Paper, 8.5 x 11 https://amzn.to/3m2iAXg This paper has now become our number one we recommend using to print printable papers and is great for gel plate prints. The color display is quite lovely and has a nice finish showing crisp images.
- Pacon Printmaking Paper, 9″x12″, White, 100 Sheet https://amzn.to/3JjWY3J
- Carnival Papers Wet Strength White Tissue 27×19 https://amzn.to/3LO0LHF
- Black Kraft Paper Roll | 18″ x 200’ https://amzn.to/36VV5MA
- Dry Waxed Deli 15″x10.75″ https://amzn.to/3o299JI
Mineral Oil – The condition of your plate is the number one factor in pulling prints. Keeping your plate in prime condition by applying oil after use is an easy way to insure your plate is ready when you are. https://amzn.to/3yJyhtN
Additional Products for Added Success:
Clear Acrylic Plate
Being able to see how the layers are stacking up on the plate is a game-changer and speeds up your learning process for getting results you can count on. You can find pre-cut pieces at most hardware stores and some stores will cut to size.
Storage & Organization – Storing your plates (smaller than 12×12) we love the metal tins from Ranger https://amzn.to/3cSBXT4. Condition your plates as suggested above and place a piece of copy paper on either side. If you store it directly in the tin paint from your plate (even when clean) will build up and cause pitting.
For daily use and access, we have built a storage rack using these metal wire panels https://amzn.to/3cSBXT4 and zip ties https://amzn.to/3x6UVwd to connect them.
Baren
If you are creating every day or even a couple of times a week, a Baren is a must-have for getting your paper, paint, and stencils to adhere to the paint and paper on the gel plate. A small business owner we recommend is Anthony Cody and he can be found HERE.
Another option or if you want to have one for different reasons like P here is the larger Baren from Speedball Block Printing Baren – Comfortable Wooden Handle, Made in the USA – 4 Inches
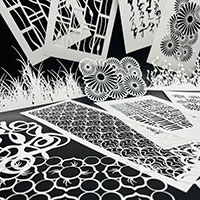
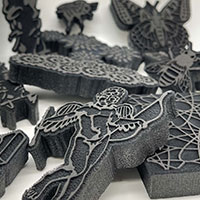
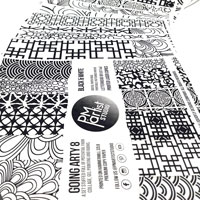
Stencils (you are in the right place) shop now
Of course, we would love to say these are a must-have since we love making them so much, but getting the basics down with paint and paper needs to be the priority. Five to eight using one at a time and then layering others in.
Retarder/Extender
If you are in a dry climate, using quick-drying paints (ie metallics or fluids) and/or using stencils an extender, or open-style paints give you more time to work with your paint on the plate. ALWAYS mix the medium into the paint before brayering. https://amzn.to/2QLH64o
1. What is the condition of the plate?
Does it need to be treated with mineral oil and/or a good wipe-down with baby wipes or a soft cotton cloth? Use something that doesn’t leave fuzzy bits on the plate.
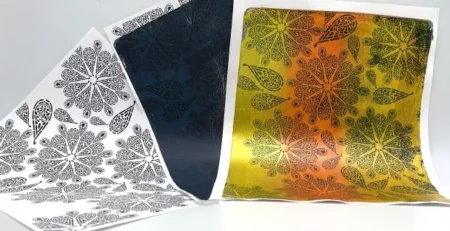
2. What types/brands of paint will you be using?
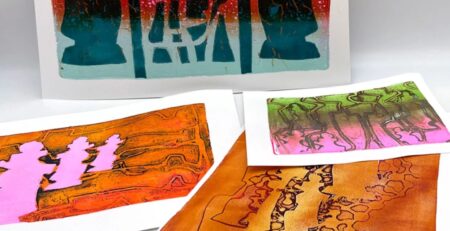
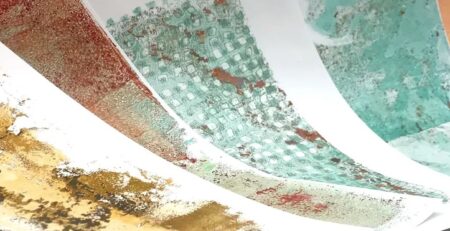
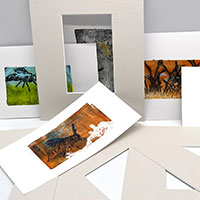
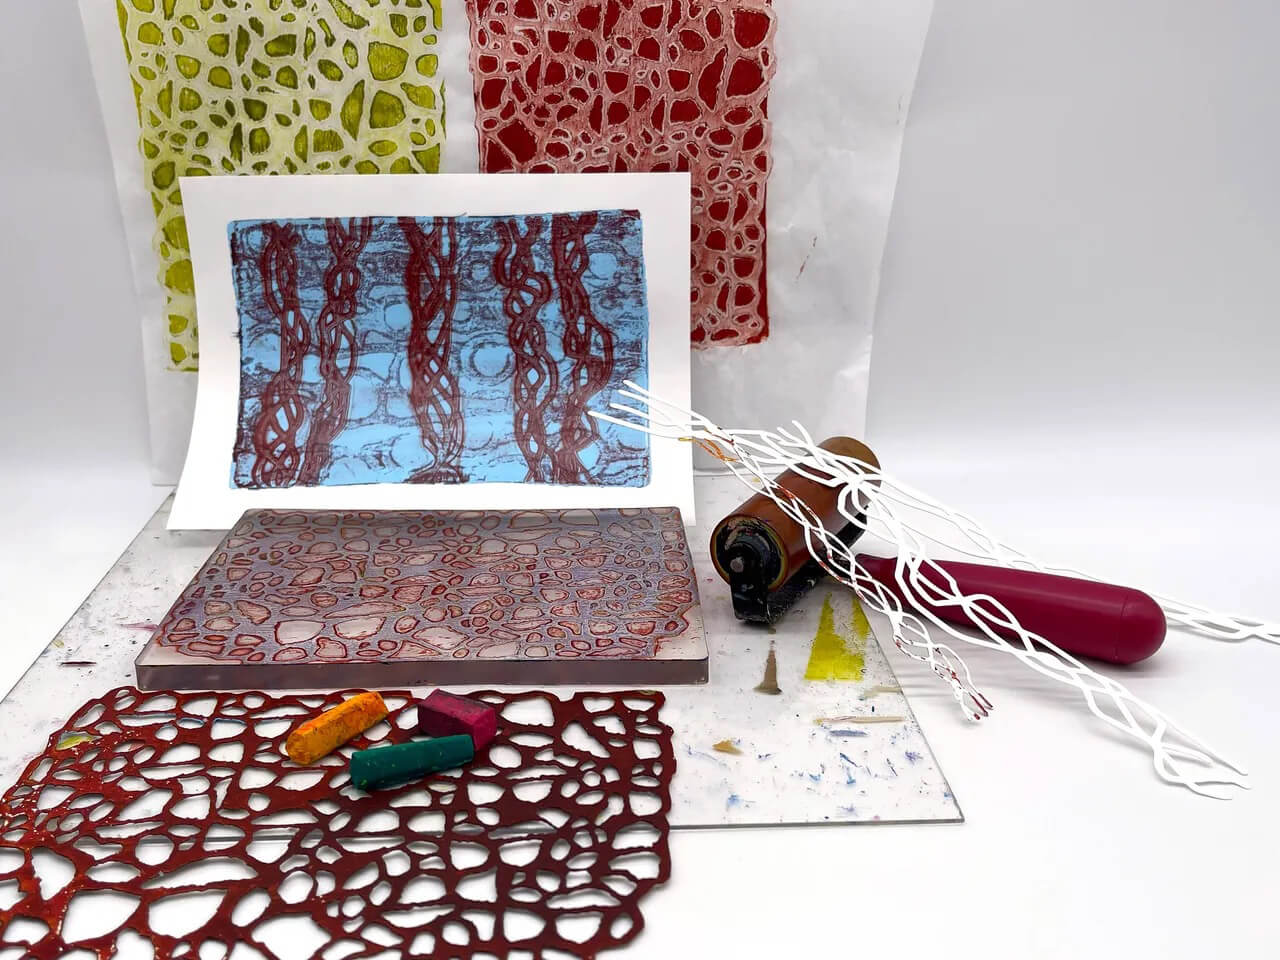
You will need some transparent prints but if you have only opaque, then you CAN start with creating backgrounds to use when you have transparent paints to add layers. NOTE: All paints are different in how they brayer onto the gel plate – how quickly they dry (as mentioned in supplies) and how smoothly they present when pulled. Also, some paints are glossy, and others more matte. Layers can create a pattern, a visual texture, or both depending on the stencil or implements used. A “wall print” is a good starting place. Pull about 500 of these just making backgrounds because this is where you will learn about how much is enough and the properties of the paint you are using. At this stage, you can experiment with mixing colors on the plate, creating ombre colors, and mixing in clear mediums (ie extenders/retarders or impastos) to get the desired results. USE WHAT YOU HAVE!
Now pull another 500 prints, you will be in the “learning curve” and be sure to save them all as they will and can be used later for overprinting! At this stage collect 5-8 stencils that fit your style and work well with each other the same stencil in a variety of sizes is good to have. Don’t go crazy buying stencils quite yet. Experiment with your 5-8 in different ways: direct to plate, paint then stencil, shadow technique (flop-brayer), and registering to name some.