


27Nov
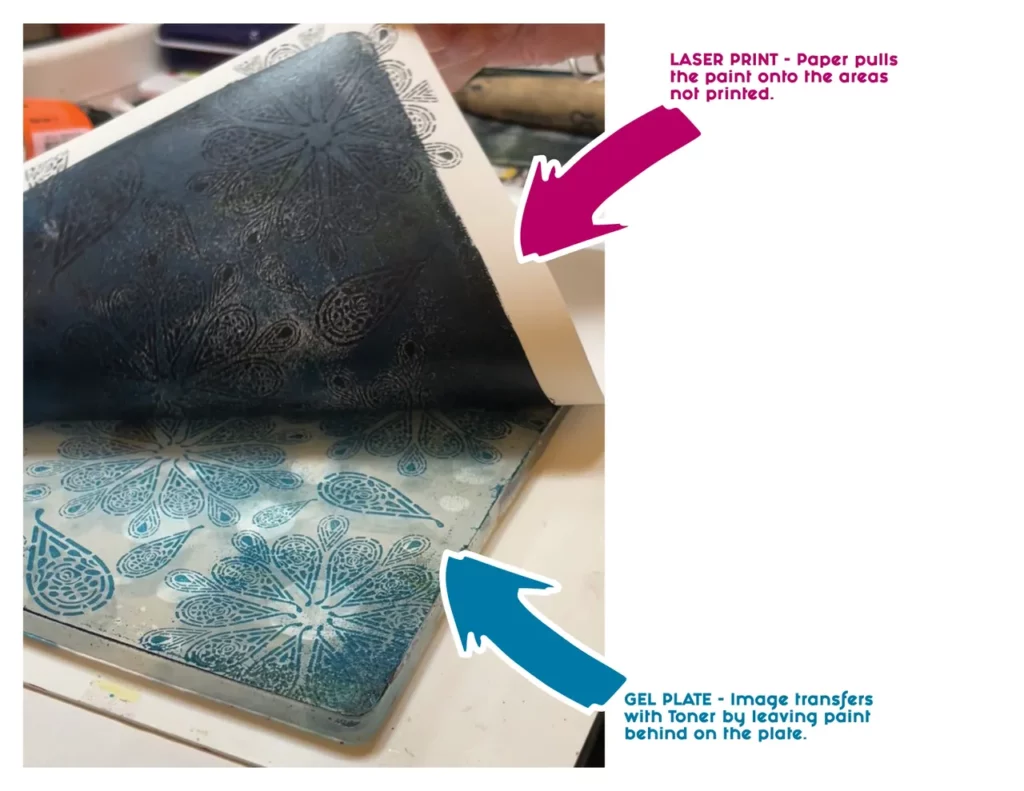
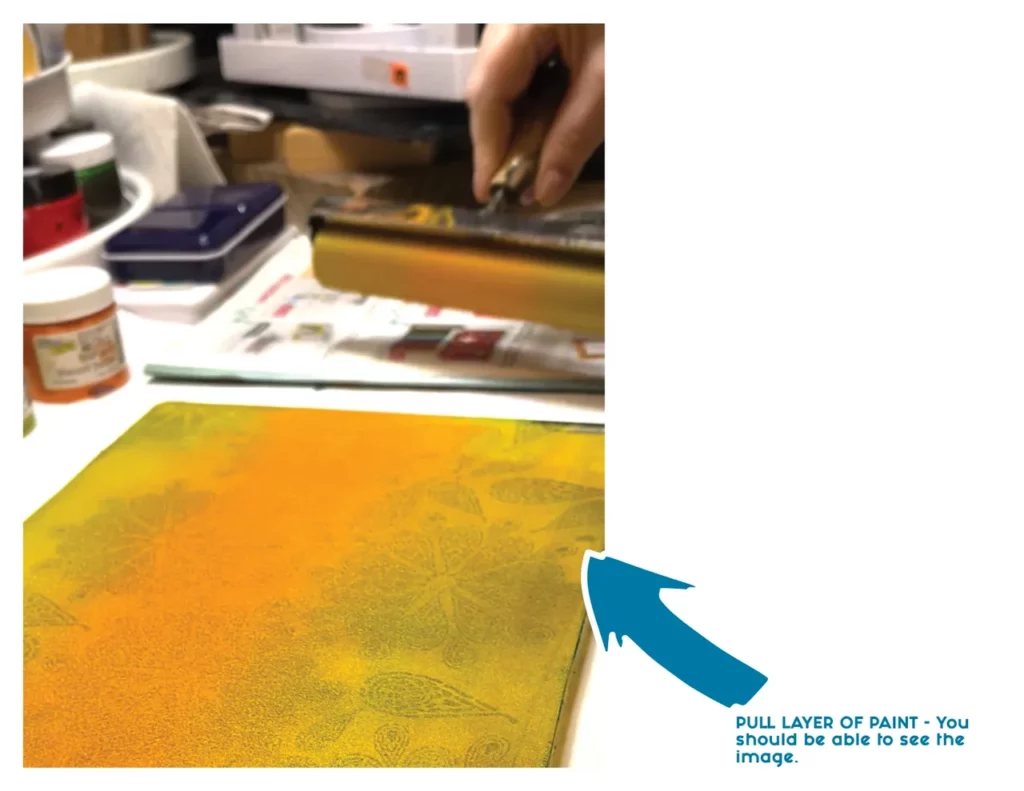
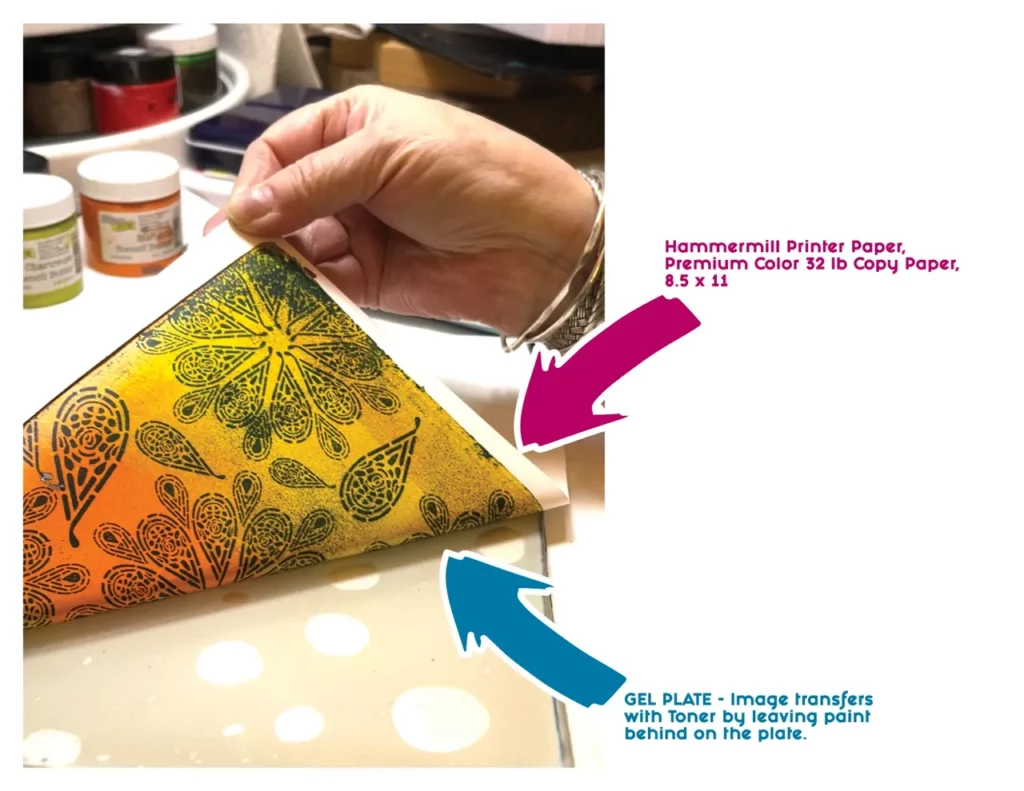
Image Transfers – A Gel Plate How-To
Some of the linked paints and papers below are affiliate links, Our primary goal is to educate and not to... read more
Here are P's notes from the Metacognition stream and below that is a link to the stream where we along... read more
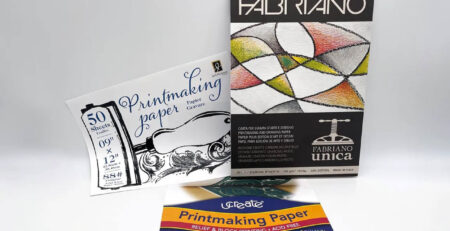
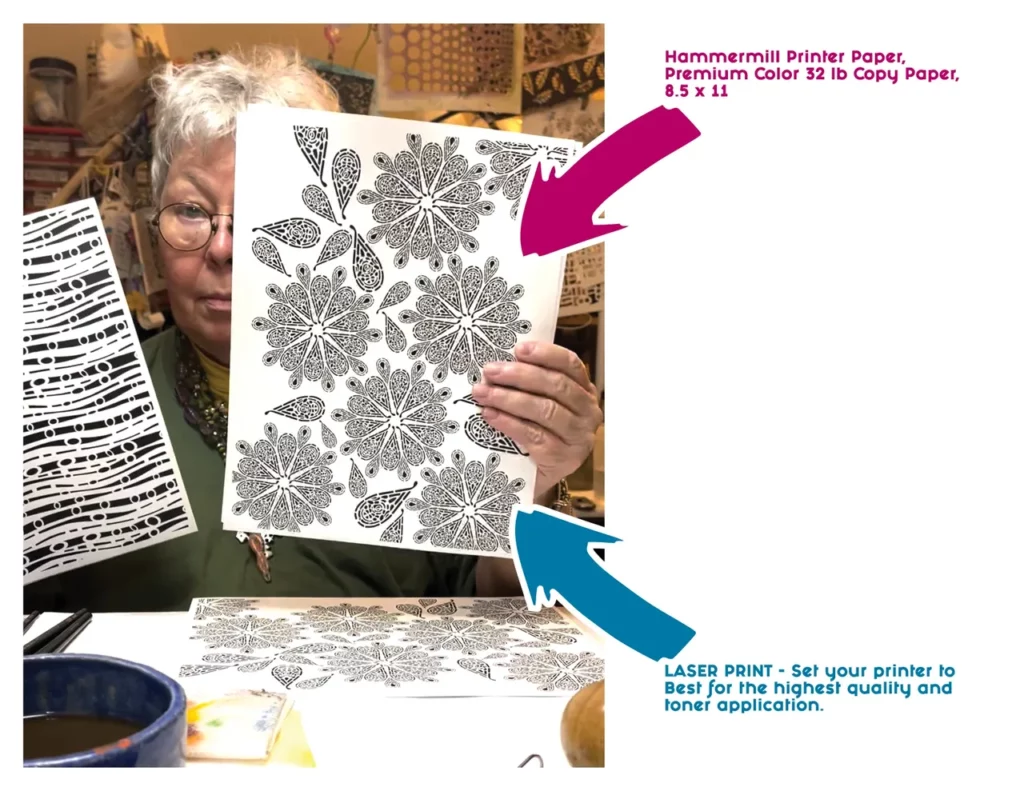
Papers can make or break printmaking and choosing the right one can be a daunting task because there is a... read more
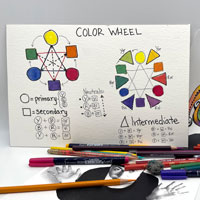
Gel Printing What to Know Before Even Laying Paint to Plate – A True Beginners Guide to Getting Started with Monoprinting... read more
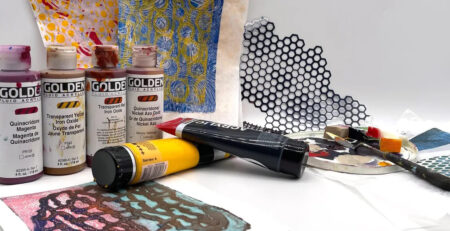
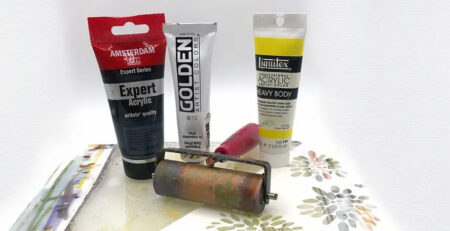
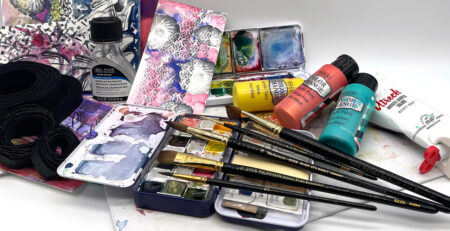
Our Go-To Products For Gelli PrintingPAINTSWe commonly use these brands and will start adding in more links as we add... read more
f you’ve watched or read any of our content via our YouTube Channel or even on our website for any... read more
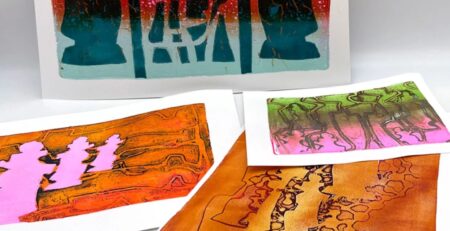
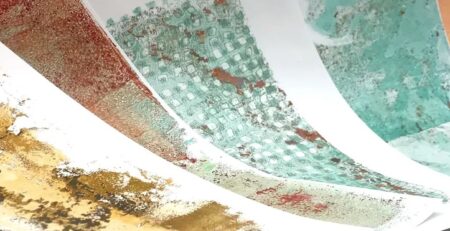
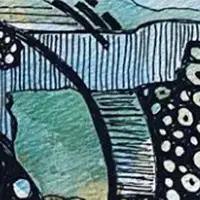
"Old Wall" prints – Sometimes they are so beautiful as is that nothing needs to be done. Other times they... read more
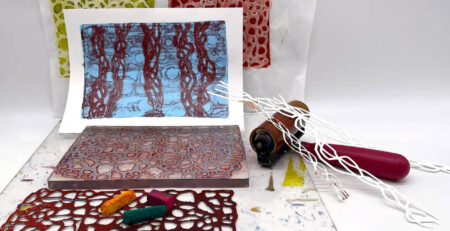
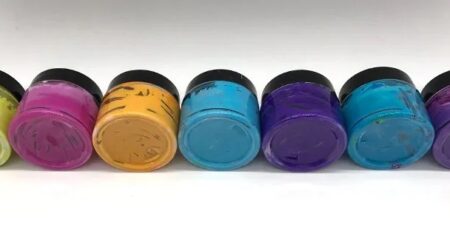
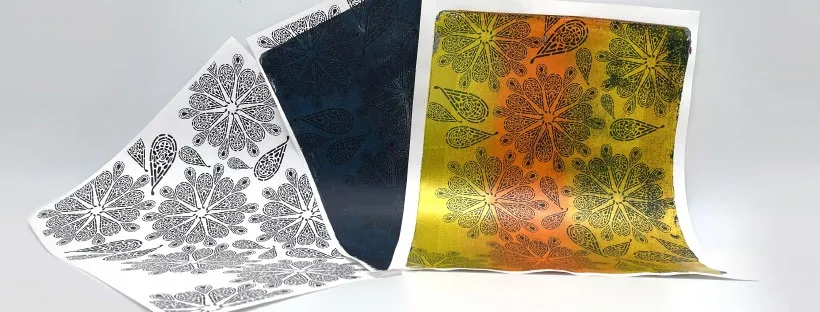
Experiments and Observations… (Supplies Used Listed at End)The question is, can a neutral-leaning, opaque metallic is used to create a... read more