10Jul
Tips & Tricks | Artist Trading Cards MIXED MEDIA ATCs
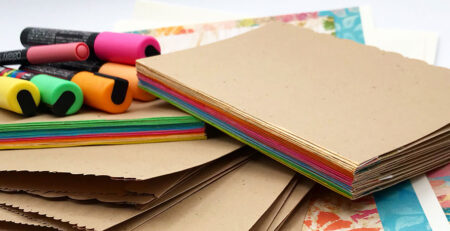
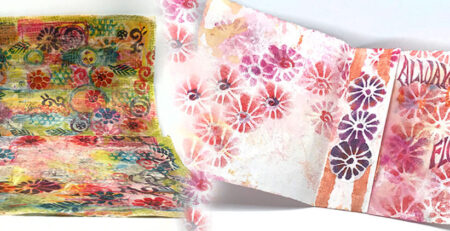
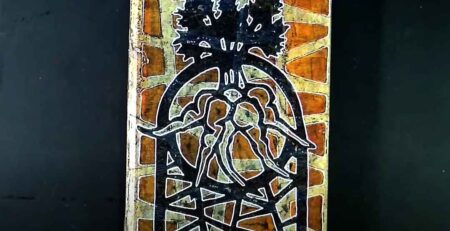
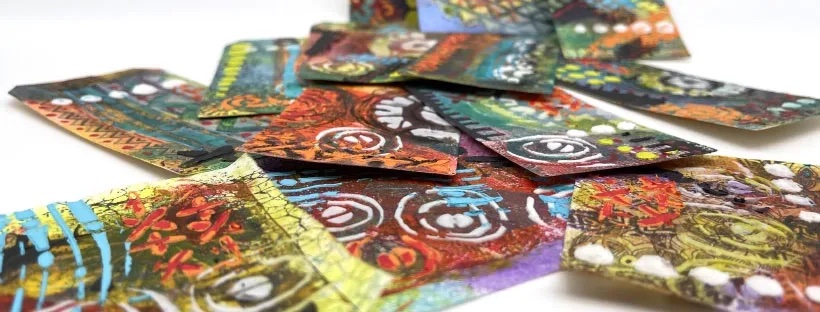
Mariah Rushing2023-02-27T01:30:13-05:00Taking us back into creating one of our favorite things, ATCs. In true PM fashion, we demonstrated a ton of tips and techniques all geared towards how we create artist trading cards and the various smaller pieces likes squares and tags. As a carry-over from what we have been doing over the last few weeks, we will be using the new stencils just in the ATC sizes along with some of our previous available patterns. All this will be done on black chipboard or heavy white watercolor papers in opposite texture pastes. P has been perfecting the flipping and flopping with a lovely scrape-off and smearing effect creating a playful negative-positive from one card to the next. Color will come in the form of gel printing and metallic watercolors, so Join us in the replay to get your Art-Fire sparked!
THE OVERVIEW AND OUR APPROACH
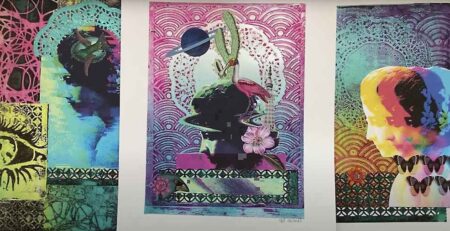
1. REVIEW – A run-through of all the pieces we have been working on prior to the livestream. Gel Prints, Stencils, Tags, Squares, and ATCs all have been created during the week as examples and with specific techniques in mind. The show and tell is about providing a clear vision of all the possibilities using some or all of the techniques along with quick tips on products and how-tos.
Our examples were created in the following order: 1) STAMPING – Our go-to stamps are ones that create interesting backgrounds with shapes and texture 2) GEL PRINTING: We love transparent layers it is a great way to gel print. Note: may want to reverse order when using opaque paints and how we demoed during the livestream. 3) OPTIONS: Can use stencils and modeling paste which will add the impression technique to your layering. 4) STENCILS – Using Light and Fluffy, Black, or mix up some bright colors find the right product and you can achieve awesome texture and layers! 5) DECIDE What’s Next: (a) Color Repetition (b) Time for a Focal Point (c) What Does it Need? (d) Add Lines, Make Marks, Bit of Grunge – Stabilo Pencils (affiliate link) are a great way to achieve these.
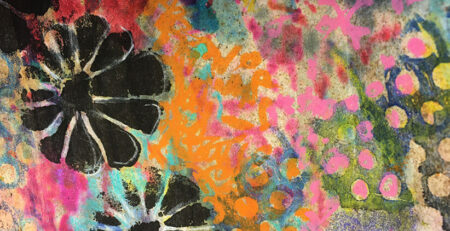
2. GEL PRINTING – Laying down color using opaque paints, use the tags, squares, and ATCs on the plate not only to pick up the color but to leave interesting marks and impressions for the next pull.
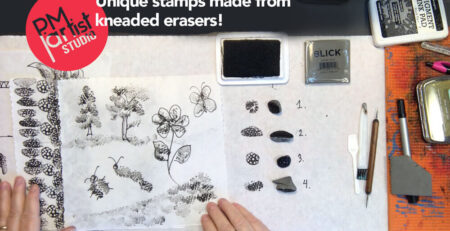
3. STAMPING – As stated above these steps can be altered depending on repetition and your desired results. In the livestream we show both stamping on the already gel-printed areas and creating new stamping as the first layers.
4. TRANSPARENT COLOR – Another layer done on the gel plate and by using the smaller gel plates we have created highlighted areas and interesting shapes over the stamps, opaque colors, and even if you have stenciled on paste.
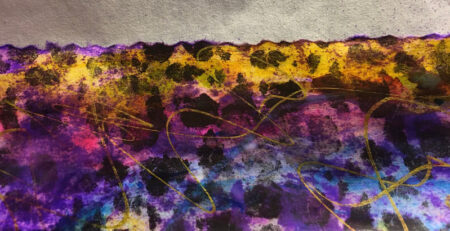
5. TEXTURE PASTE (MODELING PASTE) – Stencils are a great way to not only create interesting shapes but are a wonderful tool with texture or modeling paste. P showed examples of both at the beginning of the stream. There really isn’t a wrong way to use it. Looking for P’s mix you can find it along with many of her other custom paint mixes here: P’s Mixes
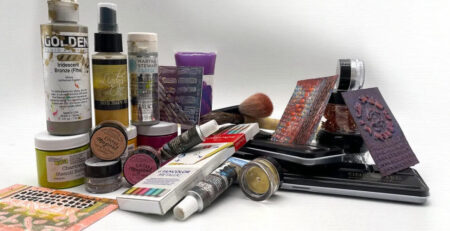
At the end of the live P also mentioned the US art Supply Iridescent paints here is a link to that set: https://amzn.to/3hdf0tQ