


Clean, Care and Use of Stencils Guide
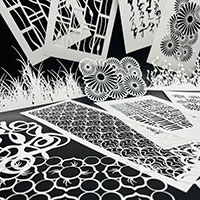
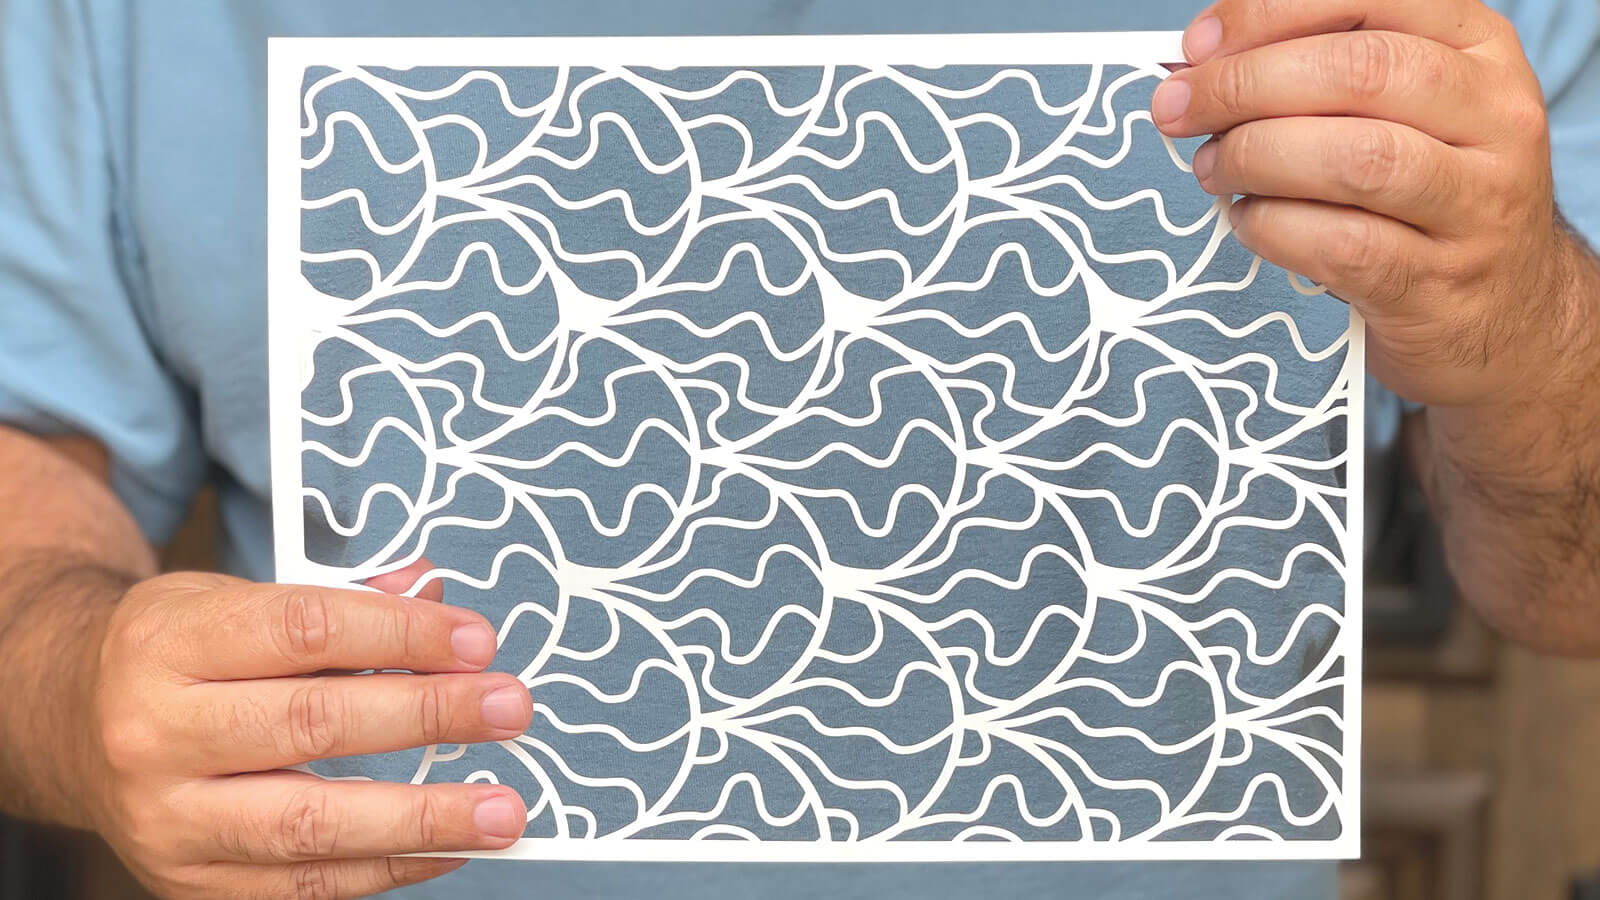
Mariah Rushing2026-04-22T12:18:05-05:00🔍 Anatomy of a YUPO Stencil
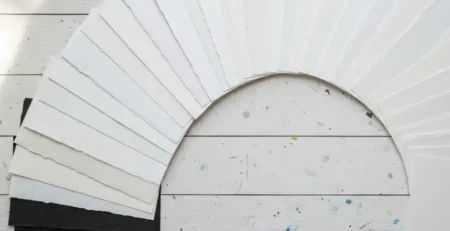
- The Smooth Side (Top): The cut areas feel flat and smooth.
- The Connection Side (Back): You will notice a slightly curved-up edge around the cutout areas.
- Pro Tip: Always place the back side (curved edge) down onto your plate or surface to achieve optimum adhesion and prevent paint bleed.
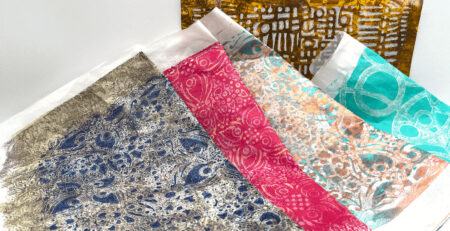
🚀 Key Factors for a Perfect Pull
- Brand new stencils are incredibly “tacky.”
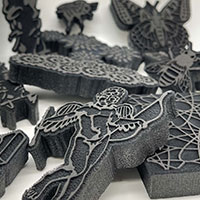
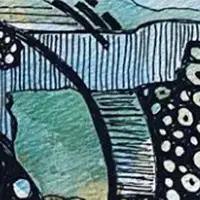
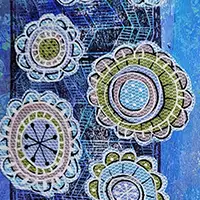
- Designs like Aqueous Effervescence, Butterflies, and Walters Web have thin, delicate connection points.
- The Fix: Use plenty of paint on your first few pulls to “season” the stencil.
- Metallics & Fast-Dry Acrylics: These act like glue. If you use them, move quickly!
- Weather Matters: In dry or low-humidity climates, paint skins over faster. If the paint dries while the stencil is sandwiched, it will bond the paper to the stencil.
- Thin paper will tear if the stencil is grippy.
- Recommendation: Use 28lb or 32lb Hammermill Premium Color Copy paper for a professional, clean release.
⚠️ Handle With Care
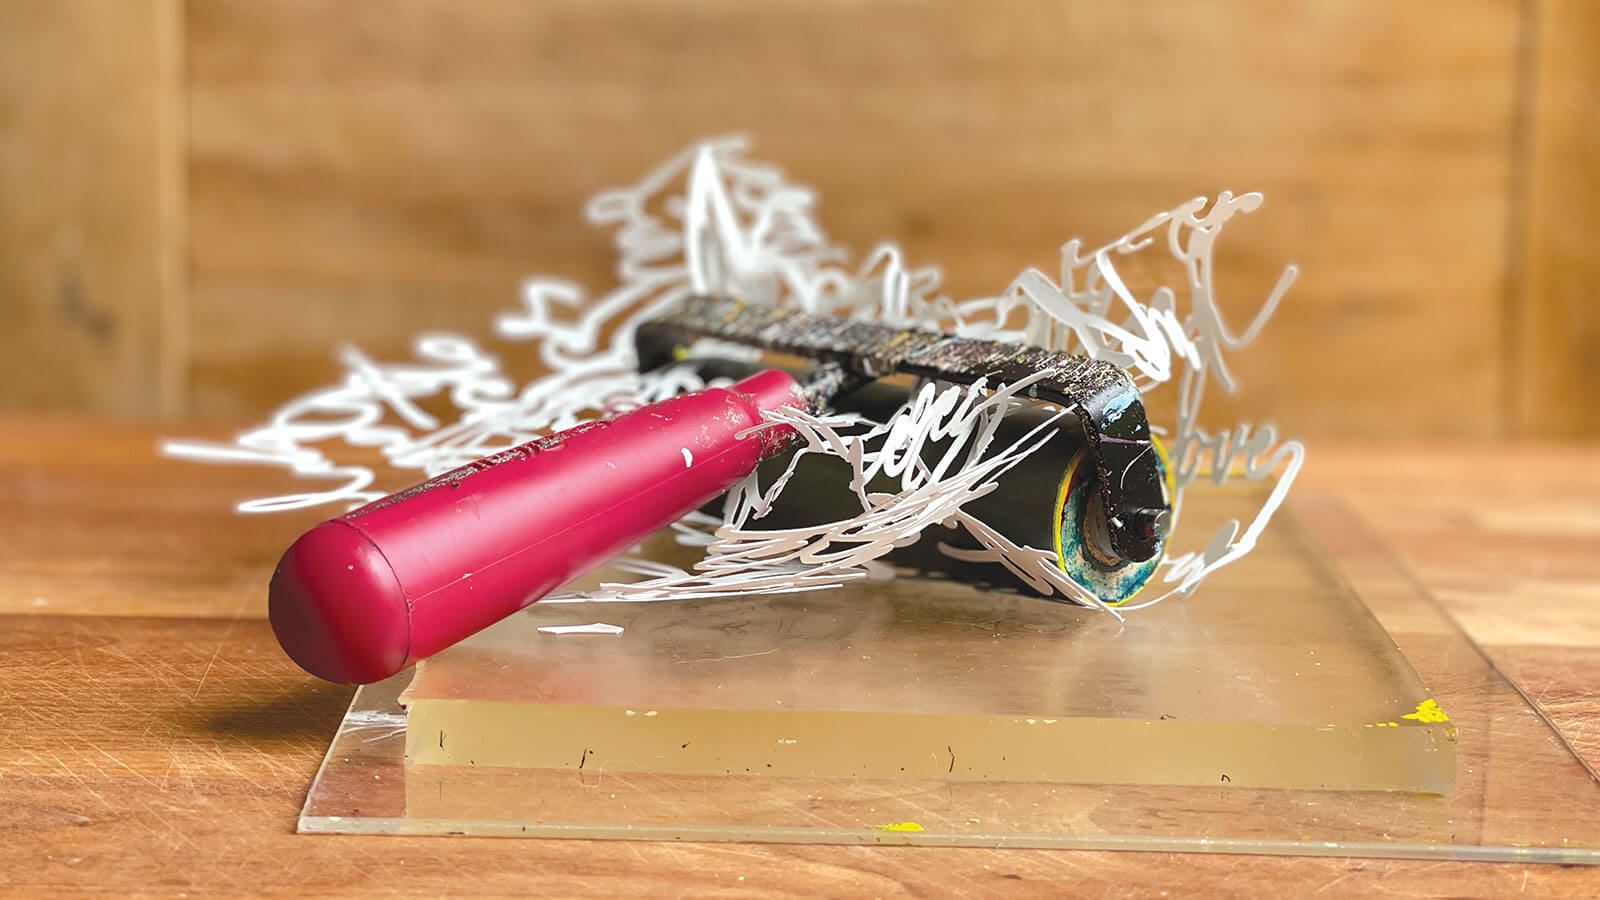
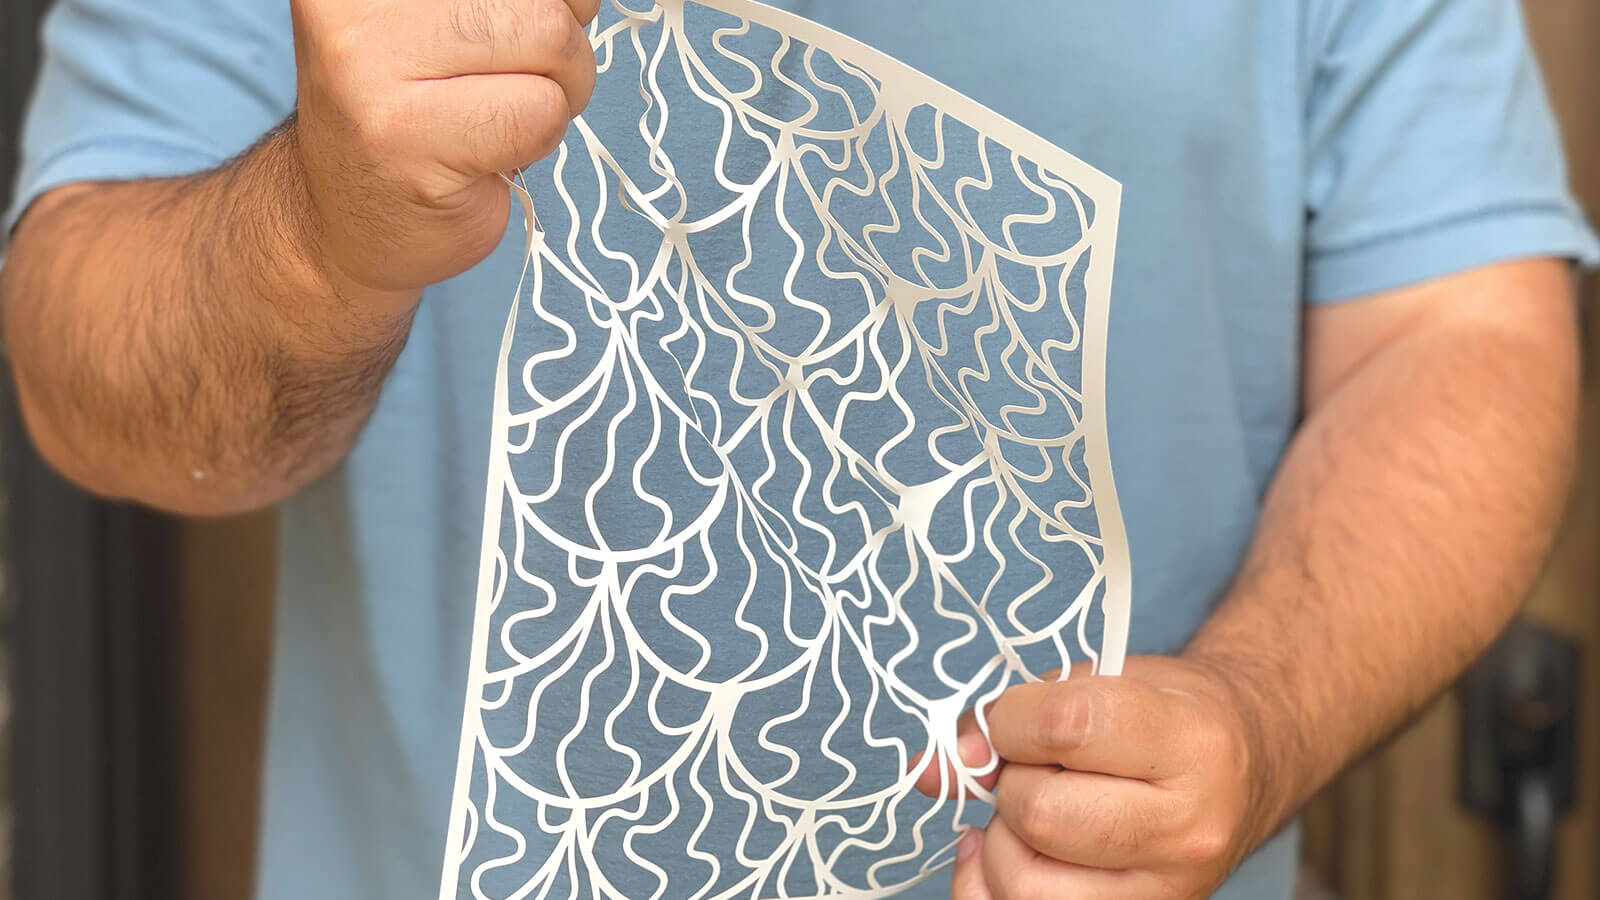
- Directional Pull: Never rip a stencil off the plate. Pull with the direction of the design lines, rather than across or against the connections.
- Stress Relief: Pulling against the grain puts stress on fragile connecting lines, which can cause tearing. Be Aware and Take Care!

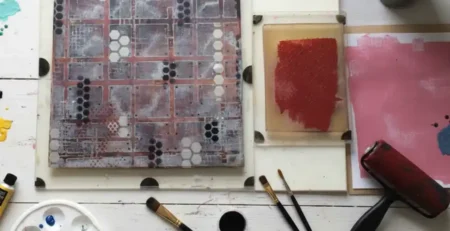
🛁 Clean & Care Instructions
- The Water Bath: For wet paper that won’t release, soak the entire stencil in a tray of water. The paper will soften and slide off.
- The Murphy’s Miracle: For dried-on acrylics or stubborn paper, soak the stencil in Murphy’s Oil Soap. It breaks down the paint bond without damaging the YUPO fibers.
- Storage: Lay stencils flat or hang them to maintain their shape.
NOTE: When washing having a bath ready for the stencils is an easy way to keep them clean or you can always let the paint build up, but keep in mind small areas will start to close up. Along those same lines when cleaning the stencil place it on a solid surface and wipe in gently or use a SOFT bristle brush (nail or toothbrush) to coax the paint off. Take extra care with the more delicate designs, Yupo is very strong but once cut the designs create points of weakness that can tear if not handled delicately. Soaking may be necessary for built-up paint and only use dish soap or other less harsh detergents. DO NOT USE SOLVENT, ACETONE, or Chlorine these types of cleaners could break down the Yupo! Remember Yupo is a polypropylene product that is a petroleum-derived material that is durable, NOT indestructible. Take a moment and watch the below video from Eddie Makes Art on how to use Murphy’s Oil!
Storage
Clean or allow to dry completely before placing into a folder, files (or other…). Separate each with deli or wax paper so they are not in direct contact with another stencil ESPECIALLY if they have paint on them. They will stick together and can easily tear when later pulled apart. If they become stuck together place them in a warm bath with a mild detergent allow soaking then genteelly work to separate. Pulling with intricate bits, gently and coming at it from all sides. To get the best results with this process go slowly and take your time.
Repair
There are times when P has torn or popped a connection sometimes she doesn’t even bother with fixing it, but we have found using super glue will reattach some of those areas. Simply put a very small/tiny amount of superglue on the tip of a toothpick (or pointy tool) and apply it to the torn area. Any excess will need to be wiped away quickly. For larger areas or if you want to Frank’n stencil your bits washi-tape works really well and also creates connection lines which are pretty cool.
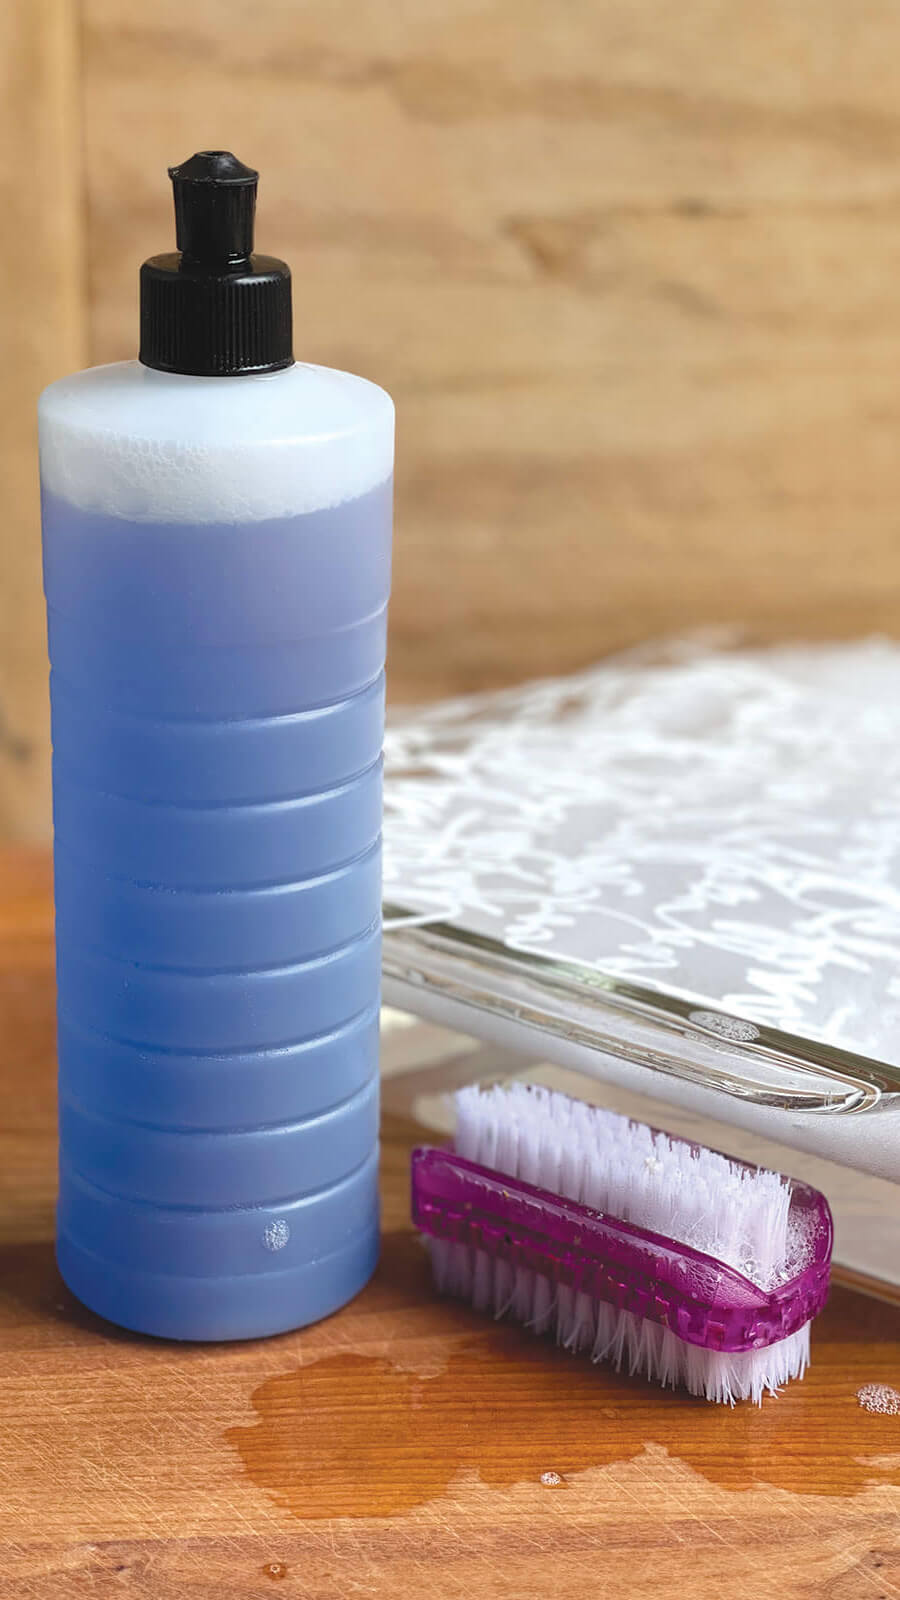
Here are a few of our favorite cleaning products and a link to our Gel Printing Basics for even more information about getting started with gel plate printing.
Dawn Powerwash Spray Starter Kit
https://amzn.to/3Wciz5O
Nail Brush
https://amzn.to/433JLpD
Murphy’s Oil (Great for soaking and cleaning your brayer)
https://amzn.to/3BBlX0K
Scotch 3m Super Glue
https://amzn.to/3OeRo8B
The above links are affiliate links, Our primary goal is to educate and not to make money off of you on products we ourselves wouldn’t even use. The product links we list are for products we have purchased, used, and recommend. As a part of some programs, we are involved in we receive a small commission for qualifying purchases, at no additional cost to you, nor is it a direct association with any particular brand(s).